7 Real Estate Smartphone Photography Tips for Pro-Quality Listing Photos
Turn your iPhone or Android into a powerful marketing tool and capture stunning property images that sell.
The Secret Weapon in Your Pocket
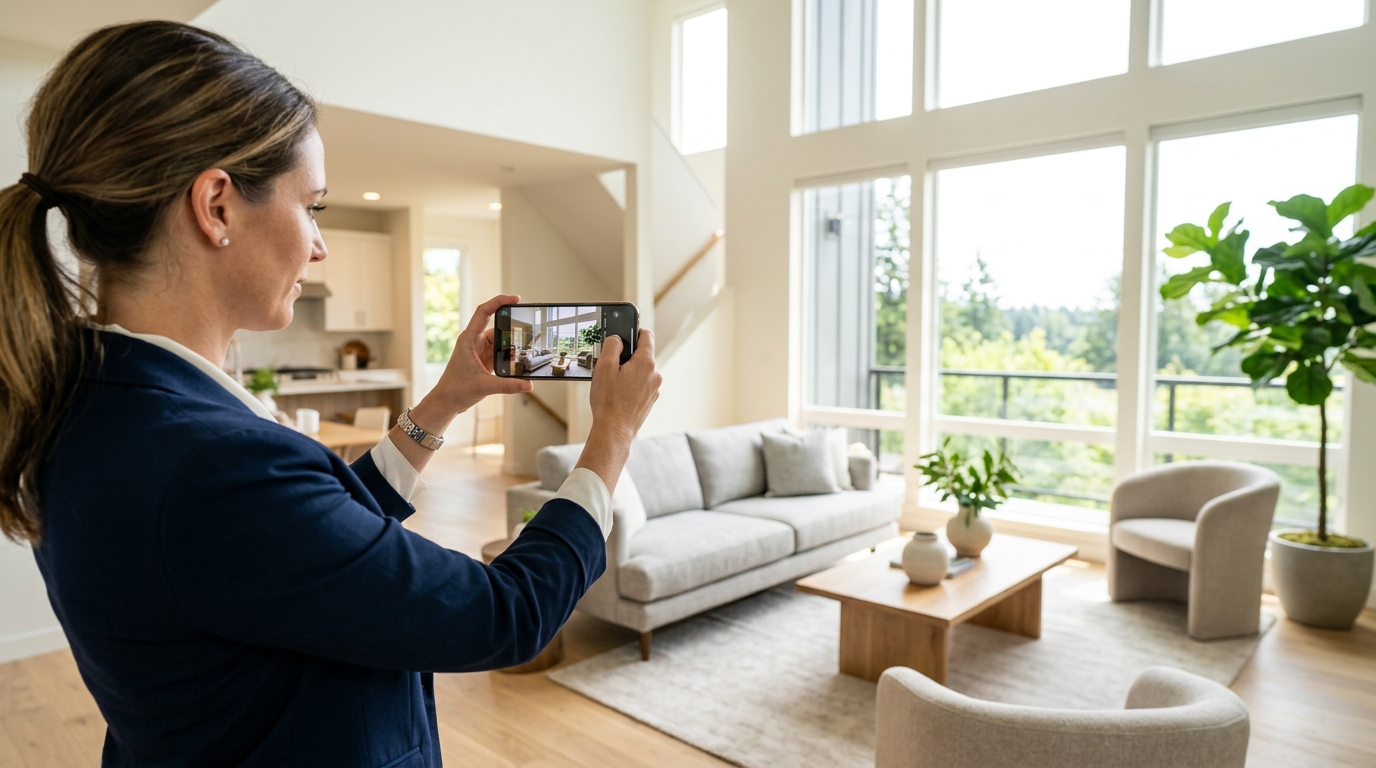
Picture this: You just landed a gorgeous new listing. The sellers are eager, the sun is shining, and the market is hot. But there's a catch—your professional photographer is booked solid for the next four days. You need to get that 'Coming Soon' post on Instagram and the MLS immediately to build momentum. Do you post grainy, dark photos that make the living room look like a dungeon? Or do you pull out your smartphone and take shots that actually stop the scroll?
We’ve all seen those cringeworthy listing photos—the ones where you can see the agent's reflection in the bathroom mirror or where the walls seem to be leaning at a 45-degree angle. It doesn't have to be that way. Today’s smartphones are equipped with cameras that rival some entry-level DSLRs. With the right technique, real estate smartphone photography can produce high-end results that help you justify your full commission to skeptical sellers.
If you're ready to level up your DIY photography game, these seven tips will help you capture professional-grade listing photos using nothing but your phone.
1. Clean the Lens (No, Seriously!)
It sounds painfully simple, doesn't it? But you'd be shocked at how many "blurry" or "dreamy" photos are actually just the result of a fingerprint smudge on the camera lens. Your phone spends its life in your pocket or purse, collecting lint, oil, and dust.
Before you take a single shot, give your camera lens a quick wipe with a microfiber cloth (or even the edge of a clean cotton shirt). This instantly improves the clarity and sharpness of your images, especially when there are light sources in the frame that would otherwise create a greasy glare. It’s the easiest five-second fix in the history of real estate marketing.
2. Master the Art of Natural Lighting
Lighting is the make-or-break factor in real estate photography for agents. The golden rule? Turn off the flash. Your phone's built-in flash is far too weak to light a whole room and will create harsh shadows and weird reflections on windows and mirrors.
Instead, follow these lighting steps:
- Open every blind and curtain: Let in as much natural light as possible.
- Turn on all the lights: Even during the day, lamps and overhead lights add warmth and depth to a room.
- Time your shoot: Avoid midday sun which can be too harsh. Aim for the "Golden Hour" or a bright, overcast day for soft, even light.
If you're struggling with the exterior, remember that first impressions start at the curb. Check out our guide on 7 Curb Appeal Photography Tips to Boost Online Listing Click-Throughs to ensure the outside looks as good as the inside.
3. Keep Your Vertical Lines Straight
If there is one thing that screams "amateur," it’s converging vertical lines. This happens when you tilt your phone up or down to try and fit the whole room in. The result? The walls look like they are falling backward or leaning inward.
To fix this, keep your phone perfectly level. Hold it at about chest or waist height—not eye level. When you hold the phone lower, you show more of the floor and less of the ceiling, which generally makes rooms feel more spacious and grounded. Most smartphones have a built-in grid feature in the camera settings. Turn it on! Use those grid lines to ensure the corners of the walls and door frames are perfectly vertical.
4. Use the Ultra-Wide Lens (But Use It Sparingly)
Most modern smartphones come with a 0.5x ultra-wide-angle lens. This is a godsend for small bathrooms or tight entryways. However, there is a fine line between "spacious" and "distorted."
If you go too wide, the edges of your photo will start to stretch and warp, making a standard bedroom look like a bowling alley. Use the wide-angle lens to capture the flow of a room, but always double-check that the furniture doesn't look unnaturally elongated. For specific areas like the kitchen, you want to focus on the details that matter most. We've put together a specialized guide on how to photograph a kitchen to help you highlight the heart of the home without over-distorting the space.
5. Lock Your Exposure and Focus
Have you ever tried to take a photo of a living room, but the windows are so bright they look like glowing white portals to another dimension? That’s an exposure problem.
On an iPhone or Android, you can tap the screen to set the focus. But did you know you can also adjust the brightness before you take the shot? Tap on a part of the room that is neither too dark nor too bright. Then, slide your finger up or down on the sun icon that appears next to the focus box. This allows you to manually balance the light so you can see both the interior details and the view outside the window.
Pro Tip: Use HDR Mode
Most phones have an "Auto HDR" (High Dynamic Range) setting. Ensure this is on. It takes multiple photos at different exposures and blends them together, which is exactly how professional real estate photographers handle those tricky bright windows and dark corners.
6. Clear the Clutter and Stage the Shot
The best camera in the world can't hide a stack of mail on the counter or a stray dog toy in the hallway. Before you hit the shutter button, do a quick "camera sweep."
- Hide remote controls and tissues.
- Close toilet lids (always!).
- Remove magnets and photos from the refrigerator.
- Straighten pillows and towels.
Think of yourself as a director. If a chair looks awkward in the frame, move it! Sometimes moving a piece of furniture just six inches can completely open up a photo and improve the composition.
7. Edit Like a Pro (With Apps)
The photo you take is just the raw material. The magic happens in the edit. You don't need Photoshop to get great results; there are several user-friendly apps that can do the heavy lifting for you.
Recommended Apps:
- Snapseed: Great for "selective" editing where you only want to brighten one dark corner.
- Lightroom Mobile: The gold standard for adjusting color balance and clarity.
- TouchRetouch: Perfect for removing small eyesores like power cords or a stray blade of grass.
When editing, focus on brightening the shadows, increasing the "vertical" correction (if you didn't get it quite right in-camera), and slightly boosting the saturation to make colors pop. Just be careful not to overdo it—you want the house to look like the best version of itself, not a neon cartoon.
Conclusion: When to DIY and When to Delegate
Mastering real estate smartphone photography is an essential skill for the modern agent. It allows you to be agile, responsive, and professional at a moment's notice. However, for high-end luxury listings or properties where you really need to make a splash, nothing beats the expertise of a professional who understands advanced lighting and composition.
But for those everyday listings, social media teasers, and quick updates? Your smartphone is more than capable. By focusing on straight lines, natural light, and clean compositions, you'll create a visual narrative that attracts more buyers and keeps your sellers happy. Ready to get started? Grab your phone, wipe that lens, and start shooting!